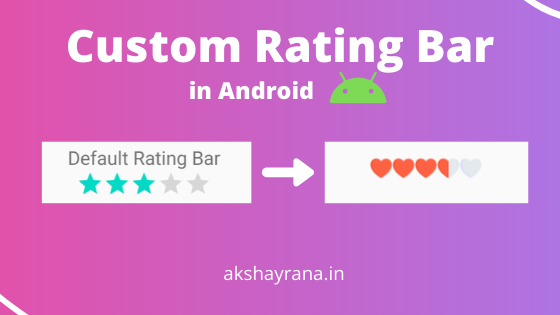
Custom Rating Bar in Android
Hello World, Today we are going to see
how to customize rating bar in android for example:
how to make small rating bar or how to change the
color of rating bar or how to completely change rating bar appearance
and set rating change listener etc.
How to change rating bar size or make rating bar small
Making a small rating bar is simple but before making a small rating bar,
let's look at how the default rating bar looks if we add it in our layout?

The default rating bar is big and looks ugly, to make it look small and make
stars color golden or yellow we use below code:

Now, this looks perfect, right? But wait what if I tell you that you can use any image instead of stars in the rating bar? excited! Stay with this article and you will catch it later.
Now let's see how we can add a listener to the rating bar do that whenever a
user give rating we can at accordingly.
Set Listener for Rating bar
To add a rating change listener we need to add the below code in our
activity java file.
in the first line, we are getting our rating bar widget by using the
findViewById method then we are setting the setOnRatingBarChangeListener and passing interface in the parameter and implement onRatingChanged method and in the parameters, we are getting our rating in float value as the
second parameter.
After getting the rating value by the user we are displaying it in the toast.
Of course, you can use this rating according to your need.
See also:
CardView in Android
Custom Rating Bar in Android
By default rating bar shows stars as a rating but there are some cases we need to add our own graphics. Let's say you want a rating bar instead of stars we need hearts. something like below:

To make a custom rating bar like above. We need to perform certain steps as
follows:
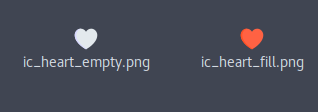
Step 1. Copy your images in the drawable folder and remember image size should
be according to the size you want.
Step 2. Make XML for the rating bar selector in the drawable folder like
below.
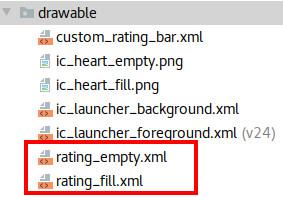
We made two files, one for the fill or highlighted part and one for the empty
or un-highlighted part.
See the below files and their respective code.
rating_fill.xml for fill part
rating_empty.xml for the empty part.
Step 3. Now, we have created our selector files, now we need to integrate them
together.
To do that we need to make a new xml file in drawable and write the below
code.
In the above code, we are making a layer list and giving the reference all the
above filling and empty selectors.
Congrats we have completed 90% of work,
Step 4. After creating all the files now, we need to define a new style in
styles.xml under res ->values folder for our custom rating bar.
Open your styles.xml, and add below code inside the resources element.
Your styles.xml should look like this.
And this comes to the last and final step.
Step 5. Add your custom style to the rating bar. Now set style in rating bar
and give reference to our custom rating bar style which we created above. See
below for reference.
Now if you run your app, you will see your custom rating bar in action.
Okay here are some tips because you came this so far.
Tip 1. Always use image files that are png, don't use vector graphic else you
will get only one icon.
Tip 2. Use image size 24px by 24px for better rating bar size.
Tip 3. If you want to disable rating from user input then you can disable it
by using attribute android:isIndicator and set it to true.
That's all for today folks. Thank you for reading and if you learned something
new then don't forget to share this article with your batch mates and
friends.
Share this Article 👇
Hey, if you are still here then don't forget to subscribe to our newsletter
below if you haven't already.
Subscribe to our Newsletter
By subscribing to our newsletter you're agreeing with our T&C.